Create your workspace
Sign up, then work through the eight-step set-up: business details, money, email, branding, departments and your team.
Your agency's space in OpsDash is called a workspace (or organisation). Everything in it, from clients to invoices, belongs to your agency and is kept separate from every other agency using OpsDash.
Sign up
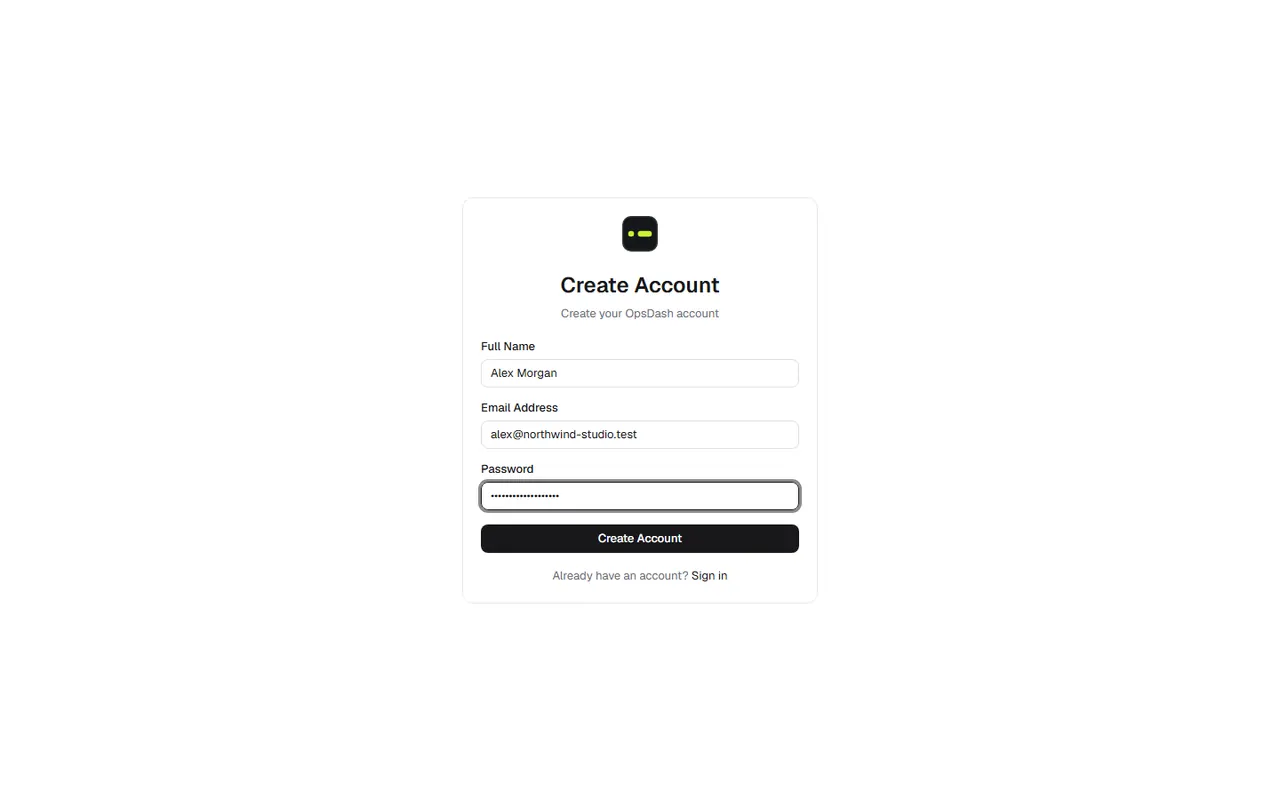
- Go to the sign-up page and enter your full name, email address and a password of at least 8 characters.
- During early access, OpsDash is invite-only: enter the invite code you were given. No code yet? Choose Ask us for one on the sign-up page.
- Choose Create account.
If you were invited by someone at your agency, don't sign up: open the invitation email instead, so you join their workspace. See inviting your team.
Set up your agency
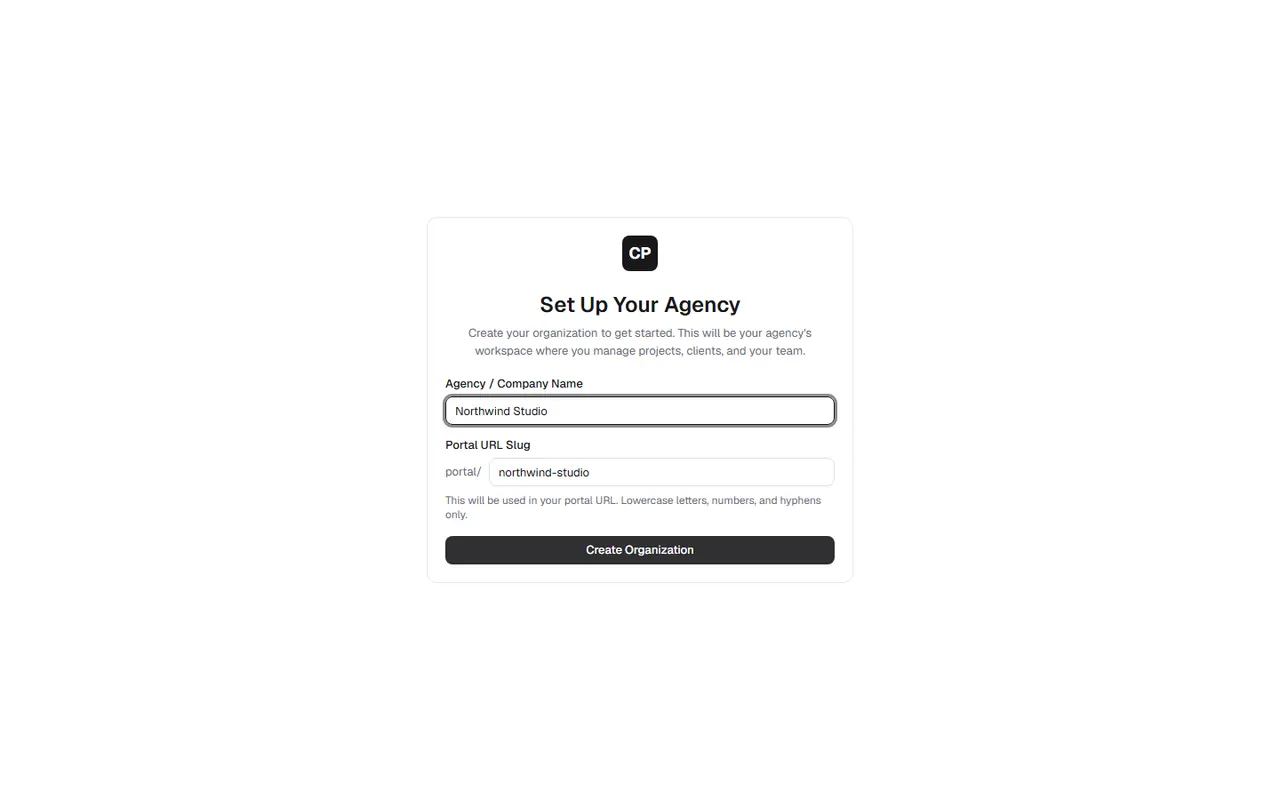
Next, OpsDash asks for your agency or company name and a portal URL slug: the short name in your client portal's address (for example northwind-studio). It's filled in from your name; use lower-case letters, numbers and hyphens. Choose Create Organization.
The set-up steps
Then a short set-up takes about five minutes. Every step except the first is optional, and you can change everything later in Settings. Next and Back are at the bottom of each step (scroll down on a small screen).
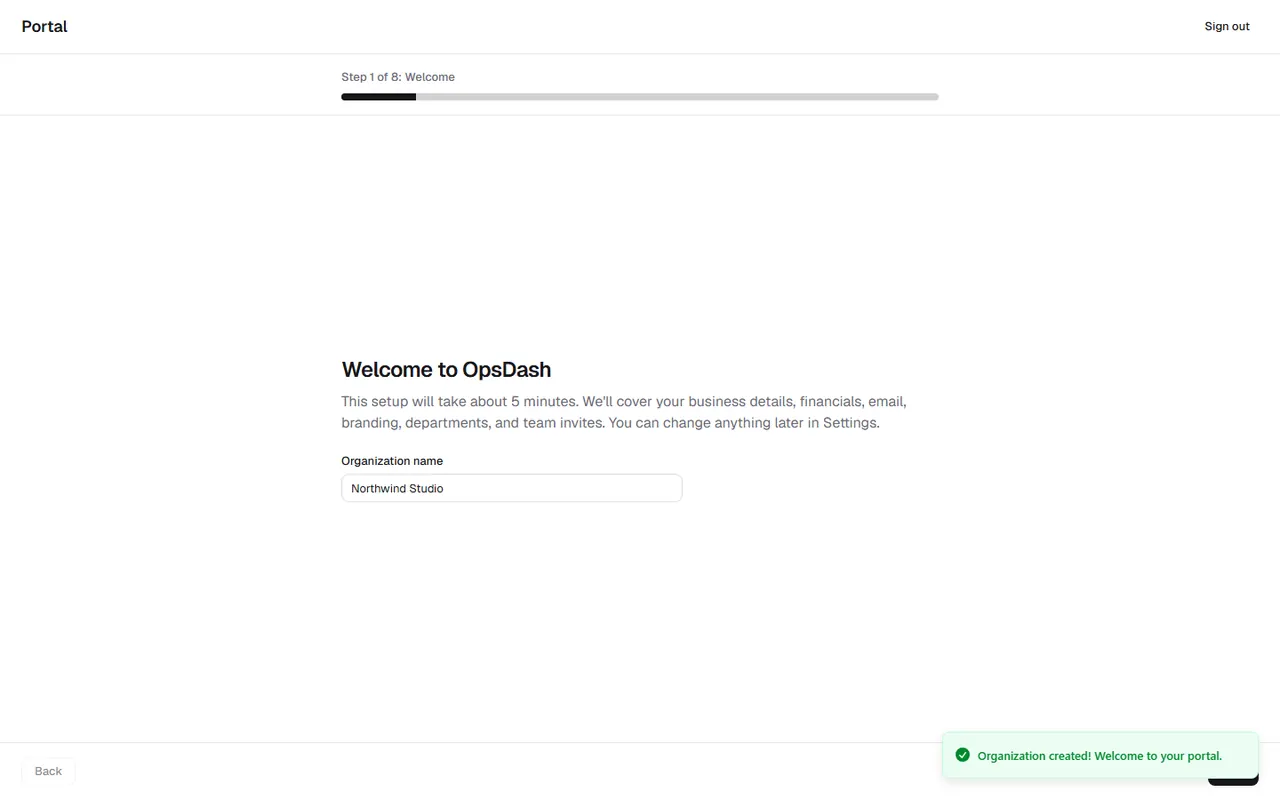
- Welcome: your organisation's name, as clients will see it.
- Business details: your logo, address, phone, website and VAT number. These go on invoices and contracts.
- Financial settings: your currency, the tax rates you charge (mark one as the default), and optionally the bank details clients pay into.
- Email setup: choose Platform Email (recommended: nothing to set up, just a from name and reply-to address) or Custom SMTP to send from your own mail server. See email sending.
- Branding: your primary and accent colours and a favicon. These are used in the client portal and on documents.
- Departments: switch on the departments you use (for example Design or Development) and add your own. Work can be routed to a department.
- Invite team: add people by email, with a role (Admin or Member) and a department. They get an email invitation.
- Review & launch: check your answers, use Edit to go back to a step, then Launch.
When you launch, you land on your dashboard.
If you leave part-way
The set-up remembers which step you reached. Sign in again and you carry on from there.
What to do next
- Follow the first-week checklist.
- Have a look round: finding your way.
- Bring your work across from monday.com: importing from monday.com.
Settings in OpsDash
- Workspace › Business details
- Money › Invoices & quotes
- Workspace › Branding
- Email › Email sending
- Team › Departments
- Team › Members
These open in OpsDash. You’ll be asked to sign in first if you aren’t already.
Related articles
- Finding your way aroundThe sidebar, the top bar, search (Ctrl+K), keyboard shortcuts, your dashboard, My work and your inbox.
- Your first week checklistThe settings and connections worth doing in your first week, in a sensible order, with links to each.
- Team members and invitationsInvite people by email or link, choose their role, set their capacity, rates and staff cost, and remove people who leave.